As an interior designer, I’ve encountered countless clients struggling with noise issues in their homes. Whether it’s the constant hum of traffic, noisy neighbors, or the echo of footsteps in an open-plan space, unwanted sound can significantly impact our quality of life.
That’s why I’m excited to share my favorite DIY soundproofing techniques that won’t break the bank. In this guide, we’ll explore budget-friendly solutions to create a more peaceful living environment, drawing from both my professional expertise and personal experiences in transforming noisy spaces into serene sanctuaries.
Understanding Sound and Soundproofing Basics
Before we dive into the nitty-gritty of DIY soundproofing, it’s crucial to understand the basics of how sound works and the principles behind effective soundproofing. In my years of designing spaces, I’ve learned that this knowledge is the foundation for successful noise reduction projects.

Types of Noise: Airborne vs. Structure-borne
Noise typically falls into two categories.
Airborne noise is what we typically think of – voices, music, or the sound of traffic traveling through the air.
Structure-borne noise, on the other hand, is the vibration that travels through solid materials, like footsteps on a floor above or the hum of an appliance.
Key Principles of Soundproofing
There are four main principles of soundproofing that I always keep in mind when tackling a noise problem:
- Absorption: Using materials that soak up sound waves.
- Damping: Reducing vibrations in solid materials.
- Decoupling: Separating surfaces to prevent sound transfer.
- Mass: Adding density to block sound transmission.
Understanding these principles has been a game-changer in my approach to soundproofing. I remember working on a project where the client complained about noise from their upstairs neighbor. By applying a combination of these principles – adding mass to the ceiling, decoupling it with resilient channels, and using sound-absorbing materials – we were able to significantly reduce the noise transfer.
Identifying Noise Sources in Your Home
The first step in any soundproofing project is to identify the main sources of noise. Take a walk through your home and listen carefully. Is it external noise from traffic or neighbors? Internal noise from appliances or plumbing? Or is it sound traveling between rooms? Understanding where the noise is coming from will help you target your soundproofing efforts effectively.
Assessing Your Soundproofing Needs
Before you start any DIY soundproofing project, it’s essential to assess your specific needs. This step will help you focus your efforts and resources where they’ll have the most impact.
Conducting a Sound Audit of Your Space
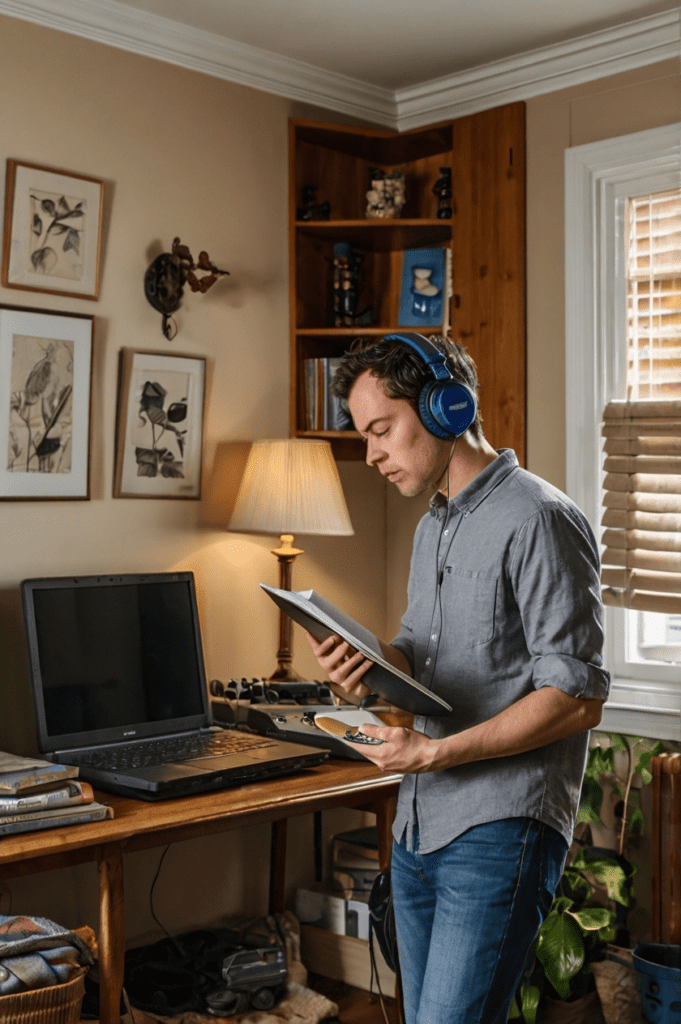
Grab a notebook and walk through your home at different times of the day. Make a note of the noises you hear in each room, their intensity, and their source. Pay attention to both external and internal noise sources. This “sound audit” will give you a clear picture of your home’s acoustic landscape.

Setting Realistic Goals for Noise Reduction
It’s important to set realistic expectations. While DIY soundproofing can significantly improve your home’s acoustics, it may not completely eliminate all noise. In my experience, aiming for a noticeable reduction in noise levels is a more achievable goal than striving for complete silence.
Prioritizing Areas for Soundproofing
Based on your sound audit, identify the areas that need the most attention. Perhaps it’s your home office where you need peace for video calls, or your bedroom for a better night’s sleep. Focusing on these priority areas will give you the best return on your soundproofing efforts.
DIY Soundproofing Materials on a Budget
One of the most common concerns I hear from clients is the cost of soundproofing. The good news is that effective soundproofing doesn’t have to be expensive. There are many budget-friendly materials you can use to reduce noise in your home.

Household Items for Soundproofing
Look around your home – you might already have items that can help with soundproofing. Heavy curtains, thick blankets, and even egg cartons can be repurposed for sound absorption. I once helped a client create a makeshift recording booth in their closet using nothing but thick winter coats and blankets!
Affordable Soundproofing Materials from Hardware Stores
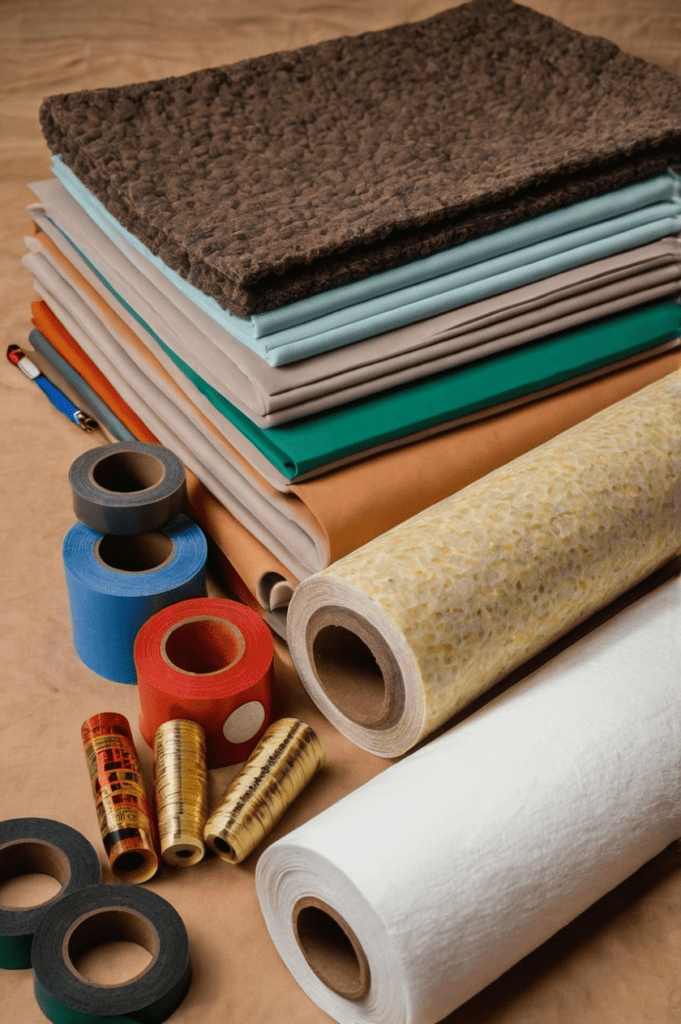
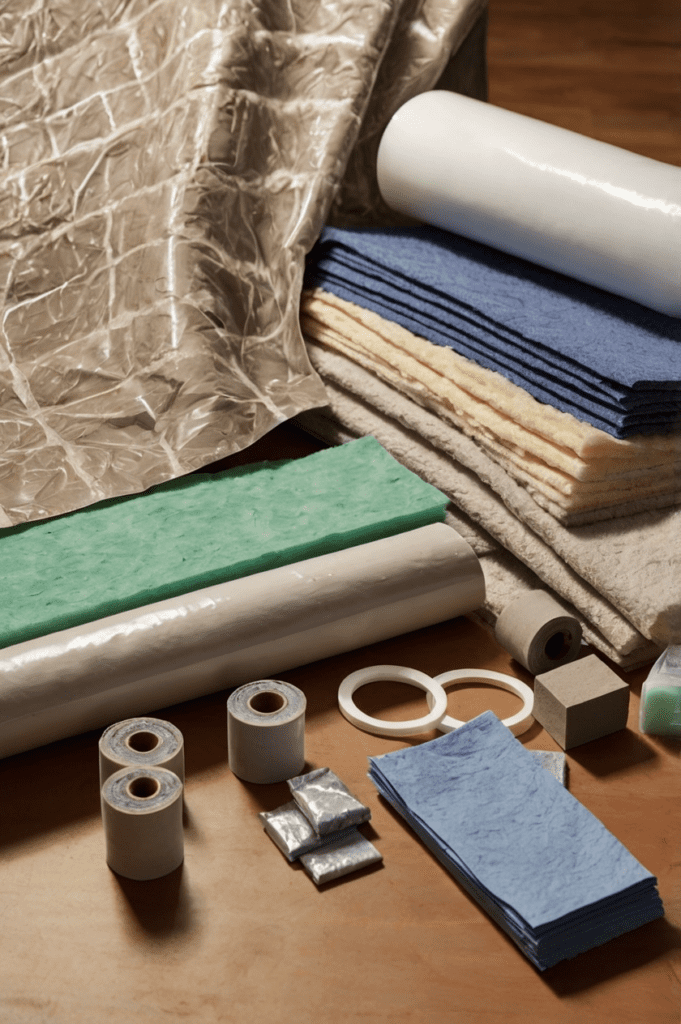
Your local hardware store is a treasure trove of affordable soundproofing materials. Some of my go-to items include:
- Weatherstripping tape
- Foam gaskets for electrical outlets
- Mass loaded vinyl
- Acoustic caulk
- Rigid foam insulation
These materials are relatively inexpensive but can make a significant difference in reducing noise transmission.
Upcycling and Repurposing Materials for Soundproofing
Get creative with materials you might otherwise discard. Old towels, fabric scraps, or even cardboard can be used in DIY soundproofing projects. I once helped a client create effective sound-absorbing panels using old moving boxes filled with shredded paper and covered with fabric – it was both eco-friendly and budget-friendly!
Quick and Easy Soundproofing Tricks
Sometimes, the simplest solutions can have a big impact. Here are some quick and easy soundproofing tricks that I often recommend to clients looking for immediate results.
Using Weatherstripping and Door Sweeps
One of the easiest ways to reduce noise is to seal gaps around doors and windows. Weatherstripping tape and door sweeps are inexpensive and easy to install. They not only help with soundproofing but can also improve energy efficiency.

Sealing Gaps and Cracks
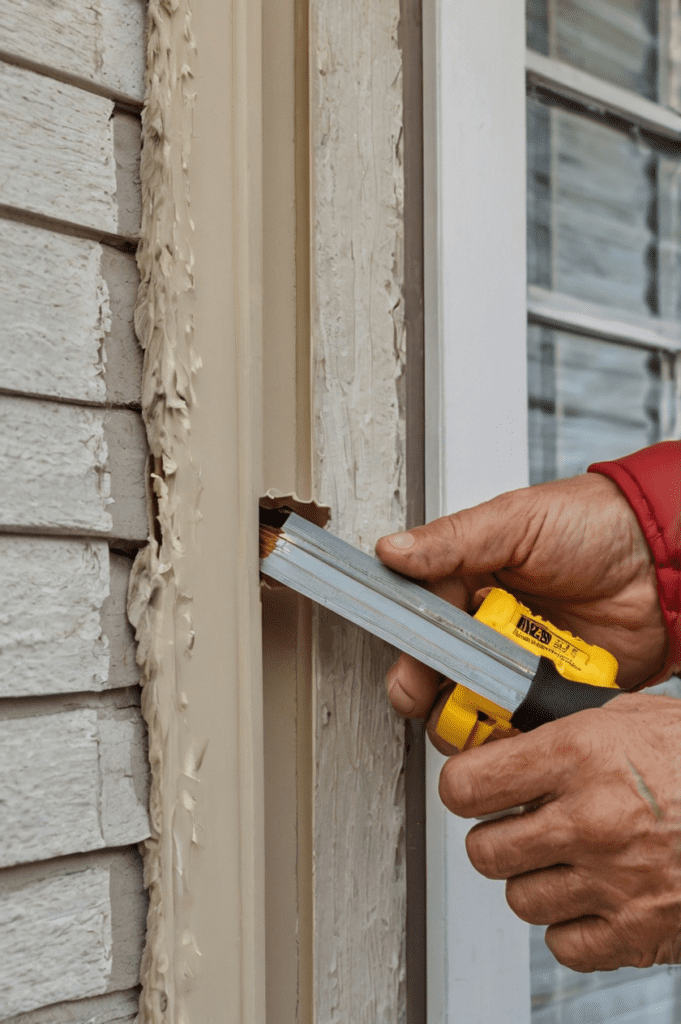
Sound can travel through even the tiniest openings. Use acoustic caulk to seal any gaps or cracks in walls, around windows, or where pipes and cables enter rooms. This simple step can significantly reduce noise transmission.
Rearranging Furniture for Better Sound Absorption
The way you arrange your furniture can affect how sound travels in a room. Placing a bookshelf against a shared wall can help absorb sound, while positioning a soft, upholstered couch in front of a noisy window can help block external noise.
Soundproofing Windows
Windows are often the weakest link in a room’s soundproofing. As an interior designer, I’ve found that addressing window noise can make a dramatic difference in a room’s acoustics. Here are some effective DIY solutions:
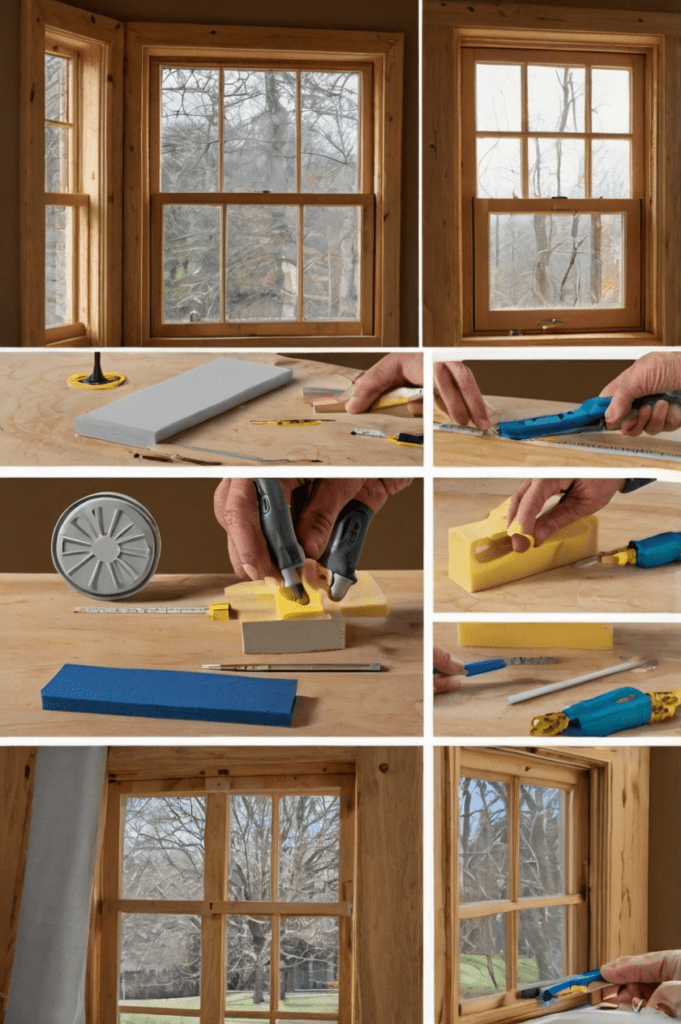

DIY Window Plug Construction
Window plugs are one of my favorite DIY soundproofing solutions. They’re essentially thick, insulated panels that fit snugly into your window frame. Here’s how to make one:
- Measure your window frame carefully.
- Cut a piece of 2-inch thick rigid foam insulation to fit the frame.
- Cover the foam with mass-loaded vinyl (MLV) for added sound blocking.
- Wrap the entire panel in a decorative fabric.
- Add handles for easy insertion and removal.
I once helped a client create window plugs for their bedroom, and they were amazed at how much quieter their sleep became!
Installing Soundproof Curtains
Thick, heavy curtains can significantly reduce noise transmission through windows. Look for curtains specifically designed for soundproofing, or layer multiple curtains for a similar effect. For best results, ensure the curtains extend beyond the window frame on all sides and hang them as close to the wall as possible.
Using Window Inserts
Window inserts are a less-known but highly effective soundproofing solution. These are custom-made acrylic panels that fit inside your existing window frame, creating an additional barrier against sound. While professional inserts can be pricey, you can create a DIY version using acrylic sheets and weatherstripping. They’re particularly useful for renters or those who don’t want to alter their existing windows.
Wall Soundproofing Techniques
Walls are often the largest surface area in a room, making them crucial for effective soundproofing. Here are some DIY techniques I’ve used successfully in various projects:
Adding Mass with Dense Materials
The principle of mass tells us that denser materials block sound better. You can increase your wall’s mass by:
- Adding an extra layer of drywall, ideally with Green Glue compound between layers.
- Installing mass-loaded vinyl under your existing drywall or wallpaper.
- Using dense foam panels or cork boards as decorative yet sound-absorbing elements.
Creating a Decoupled Wall System
Decoupling involves separating the two sides of a wall to reduce sound transmission. While professional decoupling often involves rebuilding walls, there are DIY methods:
- Install resilient channels before adding a new layer of drywall.
- Use sound isolation clips to attach new drywall to existing walls.
- Build a simple stud wall in front of an existing wall, ensuring the studs don’t touch.
I once helped a client create a decoupled wall for their home theater room, and the difference in sound isolation was remarkable!
Installing Soundproofing Panels
Acoustic panels are an excellent way to absorb sound within a room. While you can buy pre-made panels, creating your own is a fun and cost-effective DIY project:
- Build a wooden frame to your desired size.
- Fill the frame with rock wool or fiberglass insulation.
- Cover the front with a breathable fabric of your choice.
- Attach the panel to your wall using picture hangers or adhesive strips.
Floor and Ceiling Soundproofing
Don’t forget about the horizontal surfaces in your room! Floors and ceilings play a crucial role in sound transmission, especially in multi-story homes or apartments.
Using Area Rugs and Carpet Padding
One of the simplest ways to reduce noise from floors is to add soft coverings. Thick area rugs can significantly dampen sound, especially when paired with a high-quality rug pad. For maximum effect, cover as much of the floor as possible.
Installing Interlocking Foam Tiles
Foam floor tiles are an affordable and easy-to-install option for reducing impact noise. They’re especially useful in areas like home gyms or children’s play areas. Look for high-density foam tiles for the best sound reduction.
Soundproofing Drop Ceilings
If you have a drop ceiling, you’re in luck! The space above the tiles provides an excellent opportunity for soundproofing:
- Remove the existing ceiling tiles.
- Add a layer of mass-loaded vinyl or soundproofing mat above the grid.
- Place sound-absorbing insulation in the cavity above the tiles.
- Replace the tiles with acoustic ceiling tiles for added sound absorption.
This method can significantly reduce both airborne and impact noise from above.
Soundproofing Doors
Doors are often overlooked in soundproofing projects, but they can be a significant source of noise leakage. Here are some effective DIY solutions:
Installing Solid Core Doors
If your budget allows, replacing hollow core doors with solid core ones can make a significant difference in sound transmission. Solid core doors are denser and therefore better at blocking sound. While this might be a bit pricier than other DIY solutions, it’s still more cost-effective than professional soundproofing.
Using Door Gaskets and Sweeps
Much like weatherstripping for windows, door gaskets and sweeps can seal the gaps around your door where sound easily passes through. Install gaskets around the door frame and a sweep at the bottom of the door. I once helped a client reduce noise from a busy hallway by simply adding these elements to their apartment door – the difference was night and day!
Creating DIY Door Blankets
For a budget-friendly solution, consider making a door blanket:
- Measure your door and cut a piece of moving blanket or quilted fiberglass to size.
- Add grommets along the top edge.
- Hang the blanket on hooks above the door when you need extra sound insulation.
This solution is particularly useful for temporary situations or for renters who can’t make permanent changes.
Dealing with Specific Noise Sources
Different noise sources require different approaches. Here are some tips for common noise problems:
Soundproofing Against Traffic Noise
For traffic noise, focus on your windows and exterior walls. Consider:
- Double-glazed or laminated glass windows
- Exterior wall insulation
- White noise machines to mask consistent background noise
Reducing Noise from Plumbing and HVAC Systems
Plumbing and HVAC noise can be tricky, but there are DIY solutions:
- Wrap pipes in foam insulation to reduce vibrations
- Use flexible ductwork to minimize HVAC noise
- Install sound-absorbing panels near noisy appliances
Minimizing Noise from Appliances
For appliance noise:
- Use anti-vibration pads under washing machines or dryers
- Ensure refrigerators and other large appliances aren’t touching walls
- Consider building sound-insulated enclosures for particularly noisy items
Soundproofing for Renters
As a renter myself for many years, I understand the challenges of soundproofing a space you don’t own. Here are some non-permanent solutions:
Non-permanent Soundproofing Solutions
- Use freestanding room dividers filled with sound-absorbing material
- Hang heavy curtains or tapestries on walls
- Use rubber floor mats to reduce impact noise
Negotiating with Landlords for Soundproofing Improvements
Don’t be afraid to discuss soundproofing with your landlord. Often, they’re willing to make improvements that increase the value of their property. Prepare a clear proposal outlining the benefits and offer to split the cost if possible.
Portable Soundproofing Options for Renters
Consider portable options that you can take with you when you move:
DIY Acoustic Treatments
While soundproofing focuses on blocking noise, acoustic treatments help improve the sound quality within a room. These DIY projects can enhance your space’s acoustics:
Creating Your Own Acoustic Panels
DIY acoustic panels are both functional and decorative. Here’s a simple method:
- Build a wooden frame (typically 2’x4′)
- Fill with rock wool insulation
- Cover with breathable fabric
- Hang on walls using picture hangers
I once helped a client create a set of these for their home office, using fabric that matched their decor. It looked great and significantly reduced echo in the room!
Building Bass Traps for Corner Treatment
Bass traps help absorb low-frequency sound waves that often accumulate in room corners. To build one:
- Create a triangular frame to fit your room corner
- Fill with rock wool or fiberglass insulation
- Cover with breathable fabric
- Place in room corners
Making Diffusers for Improved Sound Quality
Diffusers scatter sound waves, reducing echo without absorbing all sound. A simple DIY diffuser:
- Cut wooden blocks of varying depths
- Arrange them in a grid pattern on a backing board
- Mount on the wall opposite your main sound source
Eco-Friendly Soundproofing Options
As an environmentally conscious designer, I always look for sustainable solutions. Here are some eco-friendly soundproofing ideas:
Using Recycled Materials for Soundproofing
- Repurpose old denim into sound-absorbing panels
- Use recycled plastic bottles as insulation material
- Create acoustic panels from reclaimed wood
Natural Soundproofing Materials
Consider natural materials like:
- Cork for floor underlayment or wall panels
- Sheep’s wool as an eco-friendly insulation
- Bamboo fiber for sound-absorbing panels
Sustainable Soundproofing Practices
- Choose locally sourced materials to reduce transportation emissions
- Opt for low-VOC adhesives and paints
- Design multi-functional elements that serve both soundproofing and everyday purposes
Soundproofing on an Extreme Budget

For those on a tight budget, here are some nearly free soundproofing hacks:
No-cost Soundproofing Hacks
- Use bookcases filled with books as sound barriers
- Hang thick blankets on walls or over windows
- Rearrange furniture to block noise pathways
Bartering and Community Resource Sharing for Materials
Don’t underestimate the power of community! Join local buy-nothing groups or online marketplaces to find free materials. I once helped a client soundproof their garage band practice space using only materials they got for free from neighbors!
Gradual Soundproofing Strategies
If you can’t afford to do everything at once, start small:
- Begin with the most problematic area
- Implement low-cost solutions first
- Save for more significant improvements over time
Remember, every little bit helps when it comes to soundproofing!
Testing and Measuring Soundproofing Results
It’s important to measure the effectiveness of your soundproofing efforts. Here are some DIY methods:
DIY Methods for Measuring Noise Reduction
- Use a decibel meter app on your smartphone
- Conduct a “clap test” to check for echoes
- Have a friend make noise outside while you listen inside
Using Smartphone Apps for Sound Measurement
There are many free apps available that can measure decibel levels. While not as accurate as professional equipment, they can give you a good idea of your progress.
Adjusting Your Soundproofing Strategy Based on Results
Don’t be afraid to experiment! If one method isn’t working as well as you’d hoped, try something else. Soundproofing is often a process of trial and error.
Conclusion
Creating a quieter home environment doesn’t have to break the bank. With these DIY soundproofing techniques, you can significantly reduce noise and improve your quality of life. Remember, every space is unique, so don’t be afraid to get creative and adapt these ideas to your specific needs.
As an interior designer, I’ve seen firsthand how a quieter home can transform people’s lives – from better sleep to increased productivity and overall well-being. So why wait? Start your DIY soundproofing journey today and enjoy the peace and quiet you deserve!

