As an interior designer working in earthquake-prone regions, I’ve learned that creating beautiful spaces isn’t just about aesthetics – it’s about safety too. When I first started my career, I never imagined that seismic activity would play such a crucial role in my designs. However, after witnessing the devastating effects of earthquakes on homes and families, I’ve made it my mission to blend style with safety in every project I undertake.
In this guide, I’ll walk you through the essential earthquake-resistant home improvements that can make a world of difference in high-risk areas. We’ll explore everything from foundation reinforcement to smart home technology, and I’ll share personal anecdotes and insights I’ve gained along the way.
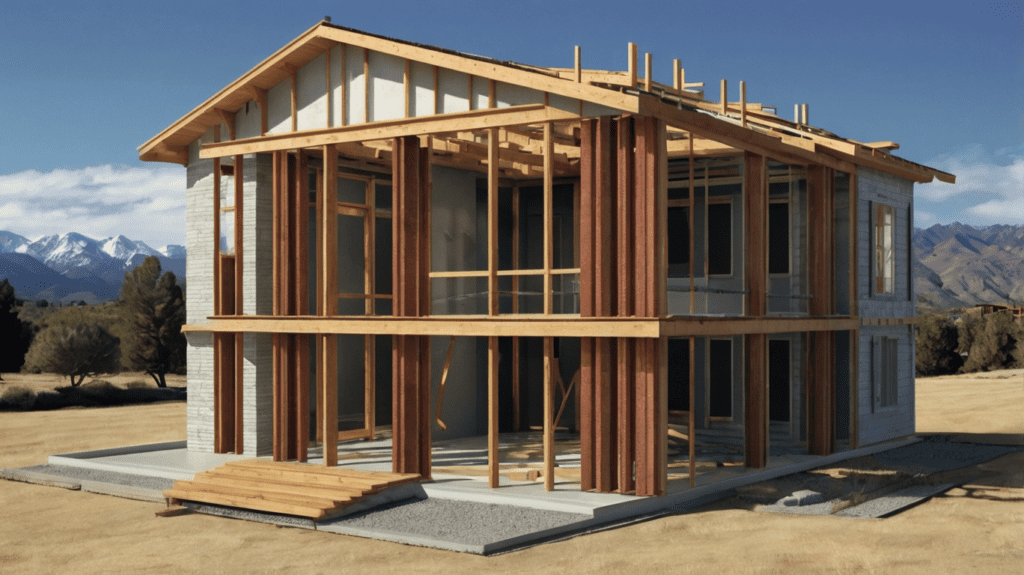
So, whether you’re renovating an existing home or building from scratch, buckle up – we’re about to embark on a journey to create homes that are as resilient as they are beautiful.
Understanding Earthquake Forces on Homes
Before we dive into specific improvements, it’s crucial to understand how earthquakes affect our homes. I remember the first time I felt a significant tremor – I was in my studio, working on a design for a hilltop home. As the ground shook, I watched in horror as my carefully arranged material samples tumbled to the floor. That experience was a wake-up call, prompting me to delve deeper into the science of seismic activity and its impact on buildings.

Earthquakes generate different types of seismic waves, each affecting structures in unique ways. The two main types we need to worry about are P-waves (primary waves) and S-waves (secondary waves).
P-waves are the first to arrive, causing the ground to compress and expand. S-waves follow, creating a side-to-side motion that can be particularly damaging to buildings.
Common structural vulnerabilities in residential buildings include:
- Weak foundations that can’t withstand ground movement
- Inadequate lateral support in walls
- Poor connections between different structural elements
- Heavy roofs or unsecured roof elements
- Unreinforced masonry chimneys
Understanding these vulnerabilities is the first step in creating a safer home. Now, let’s explore how we can address them while maintaining the aesthetic appeal that we all desire in our living spaces.
Foundation Reinforcement: The Bedrock of Earthquake Resistance
If there’s one thing I’ve learned in my years of designing for earthquake-prone areas, it’s that a solid foundation is everything. It’s like building a relationship – without a strong foundation, everything else is at risk of crumbling.
The importance of a solid foundation can’t be overstated. It’s the interface between your home and the moving ground, and its job is to keep your house intact despite the earth’s best efforts to shake it apart. I once worked on a renovation project for a family in California who had lived through a 6.0 magnitude earthquake. Their home, built in the 1950s, had suffered significant damage due to an inadequate foundation. The fear in their eyes as they recounted their experience was heart-wrenching, and it reinforced my commitment to prioritizing safety in my designs.
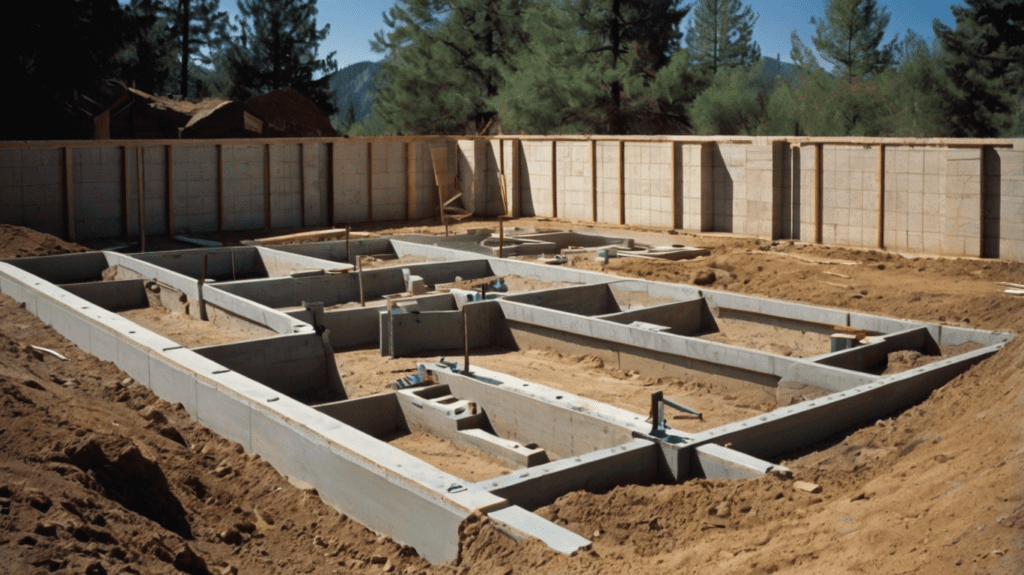

Methods for strengthening existing foundations include:
- Foundation bolting: This involves adding steel plates and bolts to better secure your home to its foundation. It’s a bit like giving your house a seatbelt!
- Cripple wall bracing: For homes with a crawl space, reinforcing these short walls between the foundation and the first floor is crucial. I like to think of it as giving your house a sturdy pair of legs to stand on.
- Steel piers or helical piles: These can be used to stabilize and lift homes with foundation settlement issues. It’s like giving your house a pair of high-tech stilts!
- Concrete strengthening: Sometimes, the existing concrete needs to be reinforced or replaced. This might involve adding steel reinforcement bars or using fiber-reinforced polymers.
Case Study: A Foundation Retrofitting Success Story
I’ll never forget the Browns, a lovely couple in their 60s who lived in a charming Craftsman-style home in Seattle. They were terrified of earthquakes but couldn’t bear the thought of leaving their beloved home. We embarked on a foundation retrofitting project that transformed not just their home, but their peace of mind.
We started by thoroughly assessing their existing foundation, which revealed several weak points. We implemented a comprehensive retrofitting plan that included foundation bolting, cripple wall bracing, and the addition of steel moment frames in key areas.
The challenge was to do all this while maintaining the home’s historic charm. We carefully removed and replaced interior finishes to conceal the new structural elements. The result was a home that looked virtually unchanged but could withstand seismic forces far better than before.
The real reward came a year later when a 4.6 magnitude earthquake struck the area. The Browns called me, elated that their home had weathered the quake without a single crack. Seeing their relief and knowing I had played a part in ensuring their safety was one of the most fulfilling moments of my career.
Structural Reinforcement Techniques: Building a Stronger Framework
When it comes to earthquake resistance, your home’s structure is its muscle. Just as we exercise to build stronger bodies, we can reinforce our homes to better withstand seismic forces. Let’s explore some key techniques:
1. Shear Wall Installation and Strengthening
Shear walls are vertical elements that help transfer earthquake forces from the upper floors down to the foundation. They’re like the spine of your house, providing crucial support during ground movement.
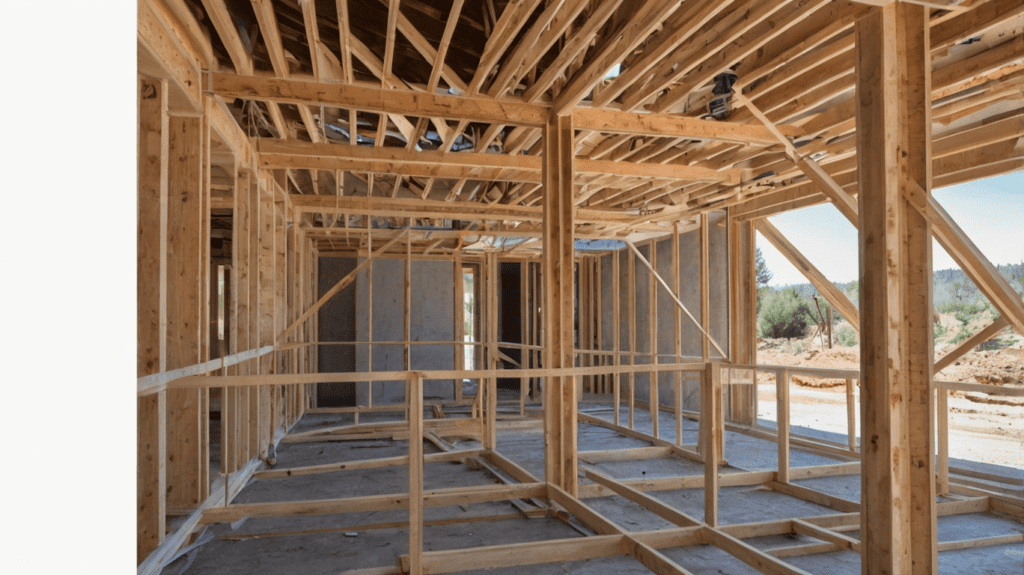

In many older homes, existing walls can be converted into shear walls by adding plywood sheathing and improving connections. I once worked on a 1920s Tudor revival home where we strategically transformed several walls into shear walls. The homeowners were initially concerned about losing the home’s character, but we managed to conceal the reinforcements behind the original wood paneling, preserving the home’s historic charm while significantly improving its seismic resistance.
2. Steel Moment Frames: The Silent Guardians
Steel moment frames are another powerful tool in our earthquake-resistant arsenal. These frames provide lateral stability and can be particularly useful in areas where you want to maintain open spaces, like large living rooms or walls with numerous windows.
I remember a project in San Francisco where the clients wanted a modern, open-plan living area with expansive views of the bay. We used steel moment frames to create the necessary support while allowing for the large glass walls they desired. The frames were elegantly integrated into the design, becoming a subtle architectural feature that complemented the home’s aesthetic while providing crucial seismic protection.
3. Cross-Bracing: The X Factor
Cross-bracing involves adding diagonal supports to form an X shape between vertical structural elements. It’s an effective way to increase a building’s lateral stability.
In a recent project, we incorporated exposed cross-bracing in a loft-style apartment. Instead of hiding it, we made it a feature, painting the braces a bold color that contrasted beautifully with the brick walls. It became a talking point for visitors, allowing the homeowners to share the story of their home’s earthquake preparedness.
Flexible Connections and Joints: The Art of Bending Without Breaking
One of the most counterintuitive lessons I’ve learned about earthquake-resistant design is the importance of flexibility. It might seem logical to make everything as rigid as possible, but in reality, allowing for some controlled movement can be key to a structure’s survival.
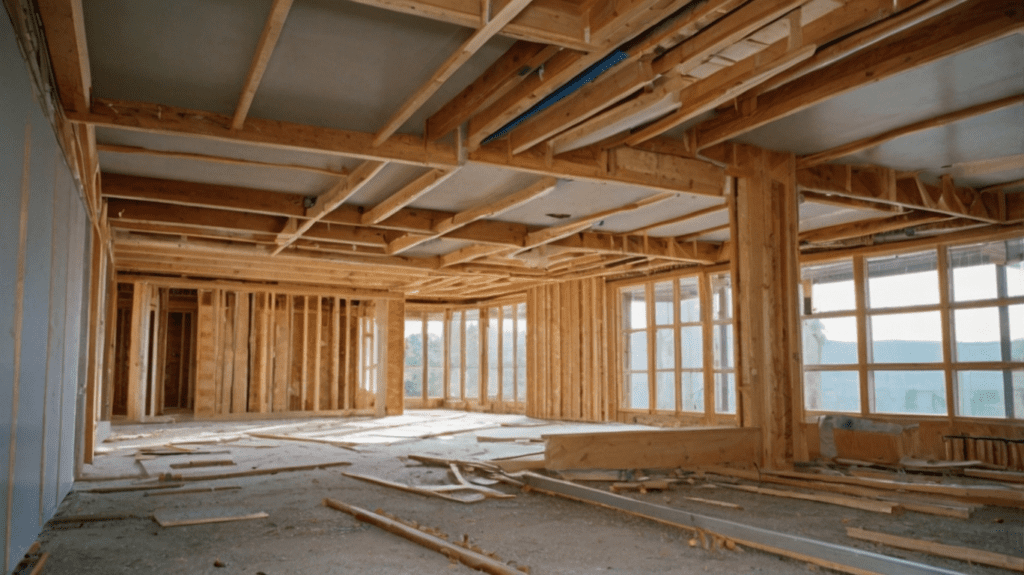

Importance of Allowing Controlled Movement
During an earthquake, different parts of a building may want to move in different ways. If the structure is too rigid, this can lead to major damage. By incorporating flexible connections and joints, we allow the building to dissipate seismic energy through movement, reducing the overall stress on the structure.
Expansion Joints in Different Parts of the House
Expansion joints are gaps that allow different parts of a building to move independently. They’re commonly used in large structures, but they can be beneficial in homes too, especially in areas prone to strong earthquakes.
I once worked on a hillside home in Los Angeles where we incorporated expansion joints between the main house and the attached garage. This allowed each structure to move slightly differently during seismic activity, reducing the risk of damage where they connect.
Flexible Utility Connections
It’s not just the building structure that needs to be considered – utility connections are crucial too. Rigid pipes and connections can easily break during an earthquake, leading to gas leaks, water damage, or electrical hazards.
I always recommend flexible connections for gas lines, water pipes, and electrical conduits. In one project, we even designed a beautiful exposed pipe system with flexible joints as a feature in an industrial-style kitchen. It was a hit with the homeowners and their guests, sparking conversations about earthquake preparedness.
Roof and Chimney Safety: Protecting Your Home from Top to Bottom
When we think about earthquake safety, it’s easy to focus on walls and foundations, but the roof and chimney are equally important. I learned this lesson the hard way when I visited a client’s home after a moderate earthquake.
The house itself had held up well, but the chimney had partially collapsed, sending bricks crashing through the roof and into their living room. It was a stark reminder that earthquake protection needs to encompass every part of the home.
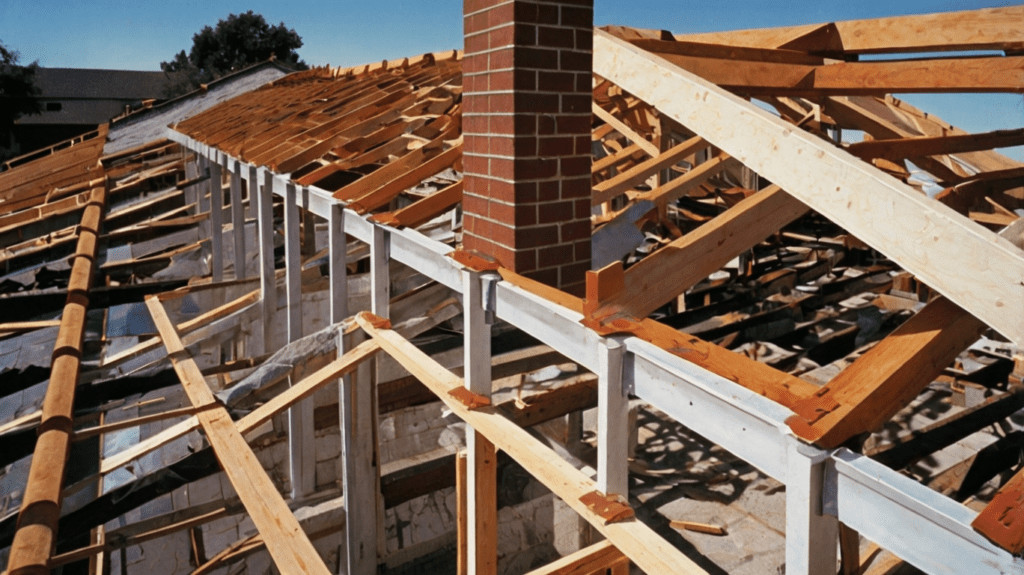

Securing Roof Elements
Your roof is your home’s first line of defense against the elements, but it can become a hazard during an earthquake if not properly secured. Here are some key considerations:
- Roof-to-wall connections: These need to be strong enough to keep your roof attached to the walls during violent shaking. We often use hurricane clips or seismic ties to reinforce these connections.
- Roof materials: Lighter roofing materials like asphalt shingles generally perform better in earthquakes than heavier materials like clay tiles. If you love the look of tiles, consider lightweight alternatives that mimic the appearance of heavier materials.
- Roof shape: Simple, symmetrical roof shapes tend to perform better in earthquakes. If you have a complex roof design, extra bracing may be necessary.
In one memorable project, we worked with a homeowner who was passionate about Mediterranean architecture and insisted on clay tiles for their roof. We compromised by using lightweight concrete tiles that looked nearly identical to traditional clay but posed much less risk during an earthquake. We also added extra bracing to support the roof structure.
Reinforcing or Removing Vulnerable Chimneys
Unreinforced masonry chimneys are one of the most common sources of damage during earthquakes. They’re essentially a stack of bricks held together by mortar, with no internal reinforcement. When the ground shakes, it can easily crack, tilt, or collapse entirely.
There are several approaches to addressing chimney risk:
- Reinforcement: This involves adding internal steel reinforcement and possibly an external steel brace. It’s often the best option for homes where the chimney is an important architectural feature.
- Removal: In some cases, especially with non-functional chimneys, removal might be the safest option. This can open up new design possibilities for the space.
- Rebuilding: If the chimney is essential, rebuilding it with modern, reinforced materials can provide the look you want with improved safety.
- Faux chimneys: For homes where the chimney is purely decorative, a lightweight faux chimney can provide the aesthetic without the risk.
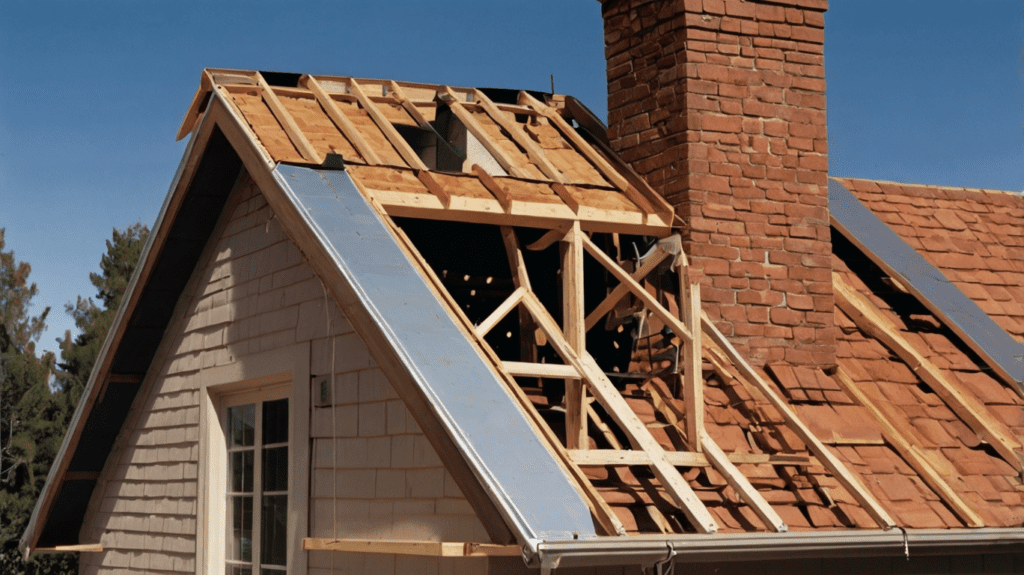

I once worked with a family who lived in a beautiful Victorian home with three brick chimneys. While they loved the look, the chimneys posed a significant risk. We ended up removing two of the non-functional chimneys entirely and rebuilding the main chimney using a reinforced design. To maintain the home’s character, we added decorative caps to the rebuilt chimney and created faux chimney tops where the others had been removed. The result was a safer home that still retained its historic charm.
Impact of Roof Design on Earthquake Resistance
The shape and design of your roof can significantly affect your home’s earthquake resistance. Here are some key points to consider:
- Symmetry: Symmetrical roofs generally perform better during earthquakes as they distribute forces more evenly.
- Hip roofs: These tend to be more resistant to earthquake damage than gable roofs due to their shape and the way they’re braced.
- Roof weight: Lighter roofs put less stress on the walls during an earthquake. If you’re replacing your roof, consider lightweight options.
- Overhangs: Large overhangs can be vulnerable during earthquakes. If your design includes significant overhangs, extra bracing may be necessary.
In a recent project in Portland, we worked with clients who wanted a modern home with a flat roof. While flat roofs can be more challenging in terms of earthquake resistance, we designed a lightweight system with proper drainage and extra bracing. We also incorporated a green roof section, which not only added visual interest but also helped with insulation and rainwater management. The result was a home that was both stylish and seismically sound.
Non-Structural Improvements: The Devil is in the Details
While structural improvements are crucial, non-structural elements can pose significant risks during an earthquake. As an interior designer, this is where I often have the most direct impact on a home’s earthquake safety. It’s not just about preventing collapse – it’s about creating a safer environment inside the home during and after a seismic event.


Securing Furniture and Appliances
I always tell my clients that during an earthquake, their furniture can become projectiles. Securing these items is a crucial step in earthquake preparedness. Here are some strategies I often employ:
- Anchor bookcases and tall furniture to wall studs using flexible straps or L-brackets.
- Use museum putty or quake wax to secure smaller items like vases, picture frames, and decorative objects.
- Install latches on cabinet doors to prevent contents from spilling out.
- Secure TVs and other electronics with straps or wall mounts.
- Use anti-slip pads under larger appliances like refrigerators and washing machines.
I remember working with a family who had a beautiful collection of antique vases. We created a custom display cabinet with plexiglass fronts and padded shelves, securing each vase individually. Not only did this protect the vases during potential earthquakes, but it also created a stunning focal point in their living room.
Installing Automatic Shut-Off Valves for Utilities
One of the biggest risks after an earthquake is a fire caused by damaged gas lines. Automatic shut-off valves can detect seismic activity and cut off the gas supply, potentially preventing fires.
In addition to gas valves, consider:
- Automatic water shut-off valves to prevent flooding from broken pipes.
- Earthquake-activated electrical circuit breakers to reduce the risk of electrical fires.
I always recommend these to my clients, explaining that they’re like having a vigilant guardian for your home, ready to act at a moment’s notice.
Earthquake-Resistant Interior Design Choices
As an interior designer, I’m always looking for ways to blend safety with style. Here are some earthquake-resistant design choices that don’t compromise on aesthetics:
- Use shatterproof glass for mirrors and picture frames.
- Opt for sturdy, low-profile furniture that’s less likely to topple.
- Choose flexible track lighting instead of hanging fixtures in areas like kitchens and dining rooms.
- Install safety film on windows to prevent shattering.
- Use area rugs instead of small throw rugs that can slide during shaking.
In one project, we created a stunning wall feature using lightweight, textured panels securely attached to the wall. Not only did it add visual interest to the room, but it also eliminated the risk posed by heavy artwork or mirrors in that space.
Earthquake-Resistant Landscaping: Beauty Meets Safety Outside Your Door
When we think about earthquake-resistant home improvements, it’s easy to focus solely on the structure itself. However, as someone who believes in holistic design, I’ve learned that the land around your home plays a crucial role in its overall seismic resilience. Let’s explore how we can extend our earthquake preparedness beyond the four walls of our homes.
Slope Stabilization Techniques
If your home is on or near a slope, stability is key. Unstable slopes can lead to landslides during earthquakes, potentially causing more damage than the shaking itself. Here are some techniques I’ve used in hillside properties:
- Retaining walls: When designed and constructed properly, retaining walls can help stabilize slopes. In one project, we created a terraced garden using a series of reinforced concrete retaining walls. Not only did this stabilize the hillside, but it also created beautiful outdoor living spaces at different levels.
- Soil nailing: This technique involves drilling and grouting steel bars into the soil to increase its stability. We’ve used this in conjunction with decorative facing materials to create stable, yet attractive slope surfaces.
- Geotextiles: These synthetic fabrics can help reinforce soil. In a recent project, we used geotextiles in combination with native plantings to create a naturally reinforced slope that blended seamlessly with the surrounding landscape.


Strategic Planting for Soil Reinforcement
Plants can play a significant role in soil stabilization. Their roots help bind soil particles together, reducing erosion and improving slope stability. Some effective planting strategies include:
- Use of deep-rooted native plants: These are adapted to local conditions and often have extensive root systems. In a California project, we used a mix of native manzanitas, ceanothus, and California lilac to create a beautiful, drought-tolerant landscape that also helped stabilize the hillside.
- Groundcovers: Dense, low-growing plants can help prevent surface erosion. We often use varieties like creeping thyme or sedum, which create attractive green carpets while holding soil in place.
- Trees: When placed strategically, trees can provide significant soil reinforcement. However, it’s important to choose species that are appropriate for the location and won’t pose a risk of falling onto the house during an earthquake. In one project, we used coast live oaks on a hillside property – their extensive root systems provided excellent soil stabilization, and their evergreen canopy offered year-round beauty.


Water Management to Prevent Liquefaction
Liquefaction is a phenomenon where water-saturated soil loses strength during an earthquake, essentially turning into a liquid. This can cause severe damage to structures. Proper water management is key to preventing this issue:
- Improved drainage: We always ensure that water is directed away from the home’s foundation. In one project, we designed a series of French drains disguised as decorative dry creek beds, creating an attractive landscape feature that also served a crucial functional purpose.
- Permeable paving: Using materials like permeable concrete or interlocking pavers allows water to seep into the ground gradually rather than pooling on the surface. We’ve used these materials to create beautiful patios and driveways that are both stylish and functional.
- Rain gardens: These are slight depressions in the landscape designed to collect and filter rainwater. In a Seattle project, we created a stunning rain garden filled with native wetland plants. It not only helped manage water but also attracted local wildlife, becoming a favorite feature for the homeowners.
Smart Home Technology for Earthquake Safety: Where Innovation Meets Protection
As an interior designer who’s always looking for cutting-edge solutions, I’m excited about the potential of smart home technology in earthquake safety. It’s like having a vigilant guardian watching over your home 24/7.


Earthquake Early Warning Systems for Homes
Early warning systems can provide crucial seconds of advance notice before shaking begins. While these have traditionally been large-scale public systems, they’re now becoming available for individual homes. Here’s how they can be integrated:
- Smartphone apps: Apps like MyShake can turn your phone into a seismic sensor, providing alerts when an earthquake is detected.
- Smart speakers: Some systems can be integrated with smart speakers to provide audible warnings throughout your home.
- Connected lighting: We’ve worked on projects where the smart lighting system was programmed to flash when an earthquake warning was received, providing a visual alert for those who might not hear an audible warning.
In one particularly tech-savvy home, we designed a central smart home hub that included an earthquake early warning display. It became a stylish yet functional focal point in the entryway, keeping the family informed about potential seismic activity.
IoT Devices for Automatic Safety Measures
The Internet of Things (IoT) has opened up new possibilities for automated safety responses during earthquakes:
- Smart gas shut-off valves: These can automatically turn off the gas supply when seismic activity is detected, reducing the risk of fires.
- Automated door openers: In some projects, we’ve installed systems that automatically unlock and open certain doors during an earthquake, ensuring clear evacuation routes.
- Smart water main controls: These can shut off the main water supply to prevent flooding from broken pipes.
We recently completed a home where all these systems were integrated into a single smart home platform. The homeowners could monitor and control everything from their smartphones, giving them peace of mind whether they were at home or away.
Data Collection for Personalized Home Reinforcement
One of the most exciting developments in this field is the use of IoT devices to collect data on how individual homes respond to seismic activity. This data can be used to create highly personalized reinforcement plans:
- Vibration sensors: Placed strategically around the home, these can provide detailed information about how different parts of the structure respond to ground movement.
- Smart structural health monitoring: More advanced systems can track changes in a building’s response over time, alerting homeowners to potential weakening or damage before it becomes visible.
- AI-powered analysis: Some systems use artificial intelligence to analyze collected data and provide recommendations for targeted reinforcements.
In a recent project for a tech entrepreneur, we incorporated a comprehensive structural health monitoring system. Not only did it provide valuable safety information, but the real-time data displays also became an intriguing art piece in their home office!
DIY Earthquake Retrofitting on a Budget: Empowering Homeowners
As much as I love working on high-end, technologically advanced homes, I’m also passionate about making earthquake safety accessible to everyone. That’s why I always try to educate my clients about DIY retrofitting options that can significantly improve their home’s resilience without breaking the bank.
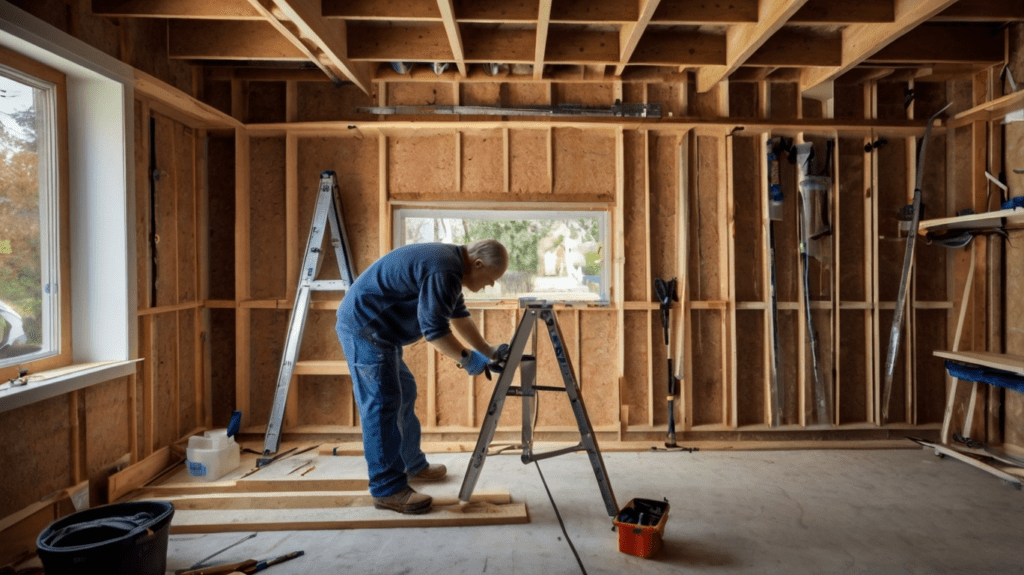

Low-Cost Reinforcement Techniques
There are several effective reinforcement techniques that handy homeowners can tackle themselves:
- Cripple wall bracing: If your home has a crawl space, adding plywood sheathing to the cripple walls can greatly improve stability. I once guided a client through this process over a weekend, and they were amazed at how much more secure their home felt afterward.
- Foundation bolting: While professional installation is ideal, some homeowners can handle basic foundation bolting themselves. It involves drilling holes through the sill plate into the foundation and securing them with anchor bolts.
- Flexible piping connections: Replacing rigid pipe connections with flexible ones, especially for gas lines, can prevent breakage during an earthquake. This is a relatively simple task for those comfortable with basic plumbing.
- Securing water heaters: Strapping your water heater to the wall studs is an easy yet effective safety measure. I always recommend this as a first step for budget-conscious clients.
Tools and Skills Needed for Basic Retrofitting
For homeowners interested in DIY retrofitting, here are some essential tools and skills:
- Power drill and masonry bits
- Wrench set
- Carpenter’s level
- Measuring tape
- Safety gear (goggles, dust mask, work gloves)
Skills-wise, basic carpentry and the ability to follow detailed instructions are usually sufficient for simple retrofitting tasks. I often recommend that my clients take a local workshop on home maintenance or earthquake preparedness to build their confidence.
When to DIY and When to Call a Professional?
While DIY retrofitting can be effective, it’s crucial to know your limits. Here’s my rule of thumb:
DIY-friendly tasks:
- Securing furniture and appliances
- Installing safety latches on cabinets
- Strapping water heaters
- Basic foundation bolting in accessible areas
Tasks for professionals:
- Major structural reinforcements
- Complex foundation work
- Chimney reinforcement or removal
- Installation of moment frames
I always advise my clients to consult with a structural engineer before undertaking any major retrofitting project, even if they plan to do the work themselves. It’s about finding the right balance between empowerment and safety.
Earthquake Insurance and Home Improvements: Protecting Your Investment
As an interior designer, my primary focus is on creating beautiful, functional, and safe spaces. However, I’ve learned that true peace of mind comes from a comprehensive approach to earthquake preparedness – and that includes understanding the financial aspects, particularly earthquake insurance.

How Retrofitting Affects Insurance Premiums?
One of the questions I’m often asked is whether earthquake retrofitting can lower insurance premiums. The answer is usually yes, but the extent can vary:
- Direct discounts: Some insurance companies offer direct discounts for specific retrofitting measures. For example, I had a client in California who received a 20% discount on their earthquake insurance premium after we completed a comprehensive retrofitting project.
- Increased insurability: Even if there isn’t a direct discount, retrofitted homes are often easier to insure. I’ve worked with clients who were initially denied coverage but were able to secure it after we implemented key safety improvements.
- Lower deductibles: Some policies offer lower deductibles for homes that meet certain safety standards. This can result in significant savings if you ever need to make a claim.
Navigating Insurance Requirements for High-Risk Areas
Insurance requirements can be complex in earthquake-prone regions. Here are some key points to consider:
- Standard vs. specialized policies: Most standard homeowners’ policies don’t cover earthquake damage. You’ll typically need a separate earthquake policy or endorsement.
- California Earthquake Authority (CEA): In California, the CEA provides most residential earthquake policies. They offer premium discounts for homes that have been retrofitted.
- Retrofitting verification: Some insurance companies require an inspection or certification to verify retrofitting work before offering discounts. I always advise my clients to document their improvement projects thoroughly.
Cost-Benefit Analysis of Improvements vs. Insurance
When deciding how much to invest in earthquake improvements, it’s important to consider the long-term financial picture:
- Upfront costs vs. ongoing premiums: While retrofitting has an upfront cost, it can lead to lower insurance premiums year after year. In many cases, the improvements pay for themselves over time.
- Damage prevention: Even with insurance, experiencing earthquake damage is costly and disruptive. Retrofitting can prevent or minimize damage, potentially saving you from out-of-pocket expenses and the stress of repairs.
- Home value: Earthquake-resistant features can increase your home’s value, especially in high-risk areas. I’ve seen retrofitted homes command higher prices in the real estate market.
- Peace of mind: While harder to quantify, the peace of mind that comes with knowing your home is better prepared for an earthquake is invaluable.
I always encourage my clients to speak with their insurance agents about how specific improvements might affect their coverage and premiums. It’s about finding the right balance between physical improvements and financial protection.
Conclusion: Building Resilience, One Home at a Time
As we wrap up this journey through earthquake-resistant home improvements, I’m reminded of why I became an interior designer in the first place – to create spaces that enhance people’s lives. In earthquake-prone areas, that means going beyond aesthetics to ensure that homes are safe havens, capable of withstanding whatever the earth throws at them.
From foundation reinforcement to smart home technology, from structural upgrades to simple DIY improvements, there are countless ways to increase your home’s earthquake resilience. The key is to start somewhere, even if it’s with small steps.
Remember, every improvement you make is not just about protecting a physical structure – it’s about preserving the memories, dreams, and sense of security that your home represents. It’s about ensuring that after the ground stops shaking, you and your loved ones have a safe place to return to.
As you consider implementing some of these improvements in your own home, I encourage you to think of it as an investment – in your property, in your safety, and in your peace of mind. Consult with professionals, do your research, and don’t be afraid to start small. Every step towards earthquake preparedness is a step towards a more resilient future.
In my years of designing for earthquake-prone areas, I’ve seen firsthand how these improvements can make a difference. I’ve witnessed the relief on homeowners’ faces when they weather their first tremor in a retrofitted home. I’ve seen communities come together to support each other in implementing safety measures. And I’ve experienced the satisfaction of knowing that the spaces I help create are not just beautiful, but also bastions of safety.
So, whether you’re renovating an older home or building from scratch, I hope this guide has inspired you to prioritize earthquake resistance in your plans. Because at the end of the day, the most beautiful home is one that keeps its occupants safe, come what may.
Stay safe, and happy designing!


